Managing Your Users
Clicking on Users in the dashboard's navigation panel lets you Add (invite), Modify (Name and Title only), and/or Deactivate (remove) members of your development and administration team.

Users are assigned one of four roles — Admin, Developer, Payment Ops, or Payops Reporting. The Developer role is granted access to the dashboard but cannot change your organisation's dashboard Settings or manage your other member users. The Admin role is granted full-scope permissions for the team, including assigning roles and permissions, with the exception of Refunds. Permission to initiate a refund is granted exclusively to the Payment Ops role; whereas a Payops Reporting user can access your Sub-TPP activity history and refund history for reporting purposes.
User roles and permissions are summarised in the following table

If you are an Admin user, click any Active User to modify or delete the listing.
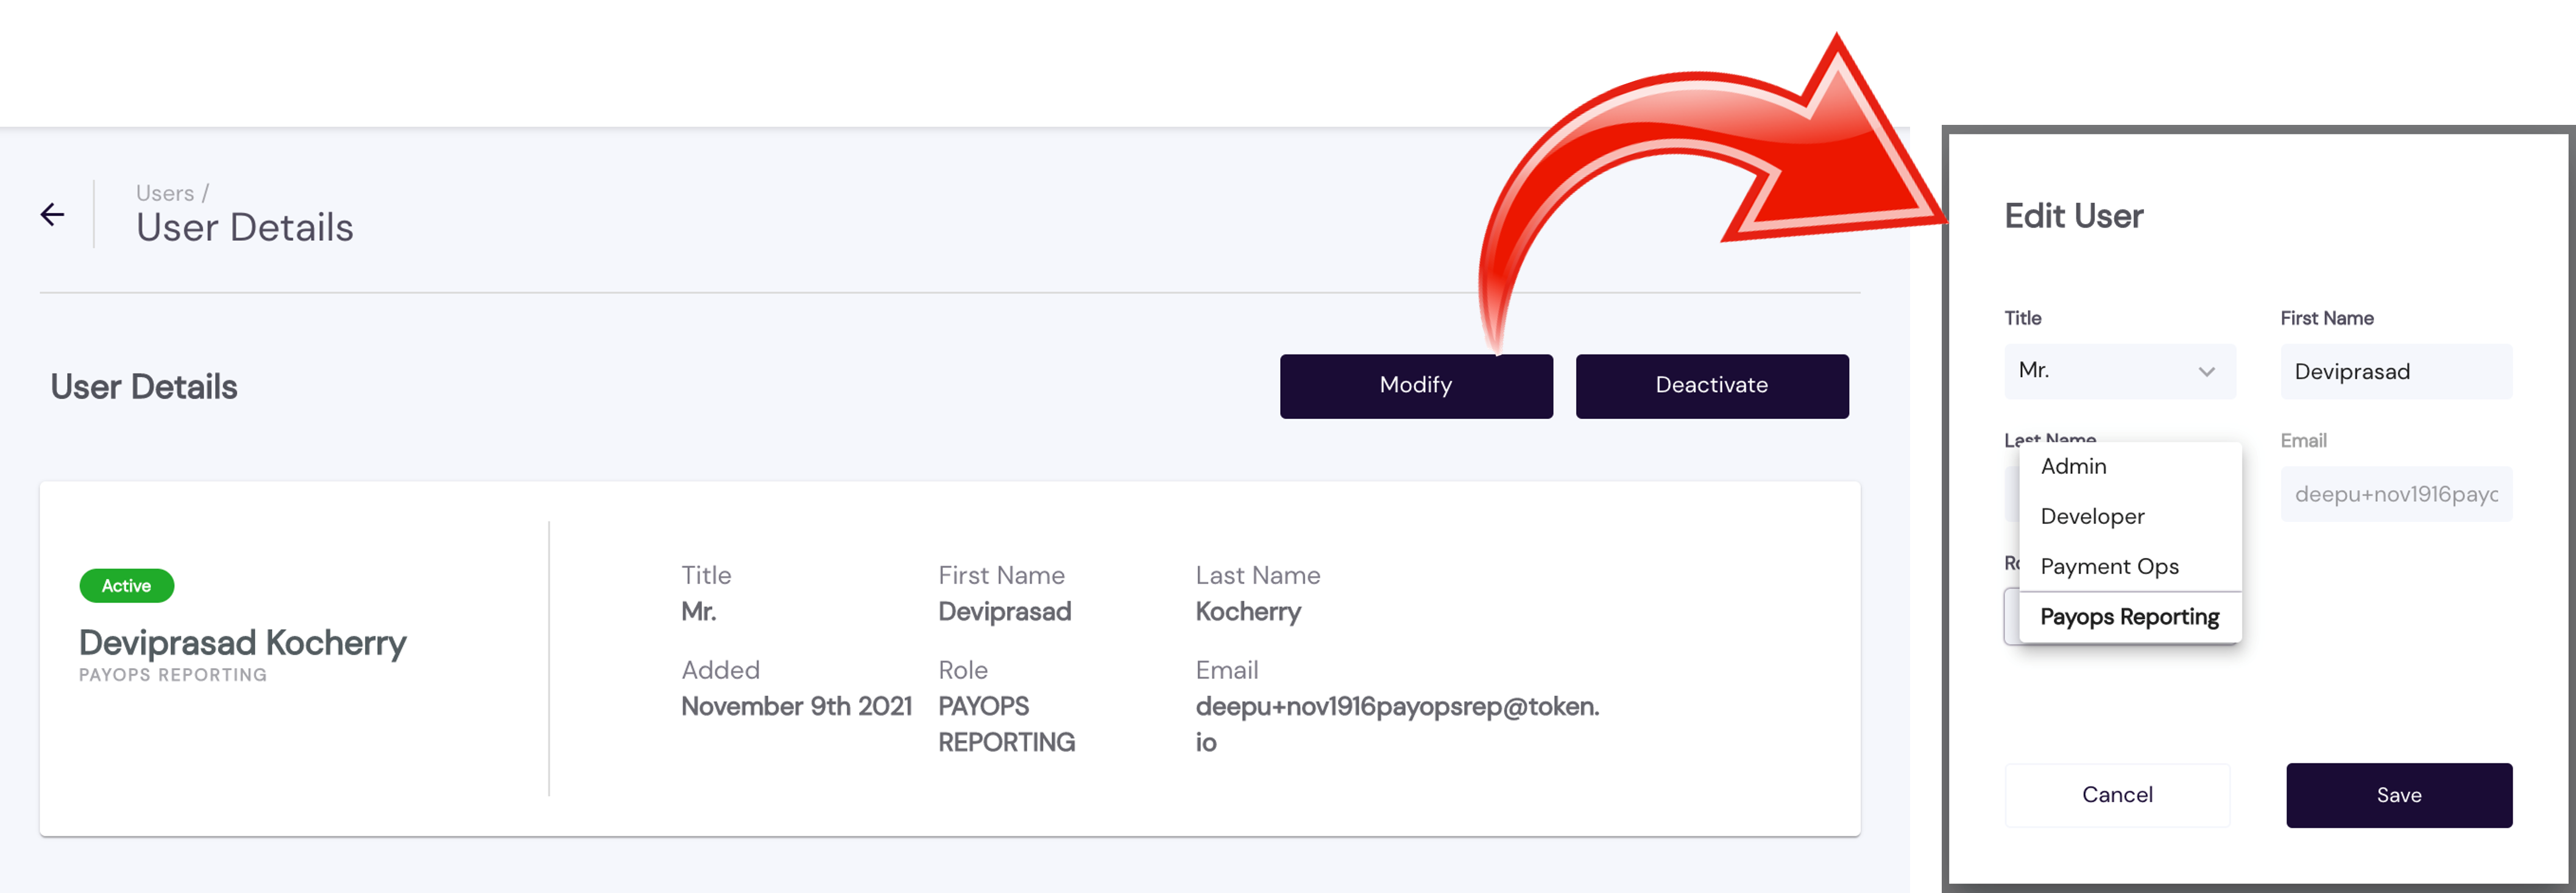
As an Admin, you can edit the Name, Title, and Role, but the user's Email cannot be changed. However, you can deactivate a user and then add the same user with a different Email, when such a change is necessary.
Deactivate a user by selecting the name from the Active Users list (see top of this page) and then clicking Deactivate. View the list of deactivated users by clicking View Deactivated Users at the bottom of the list of Active Users.

Deactivated users must be manually added back to regain access to dashboard.
